At AgileMaking, we’ve decided to create this introductory guide on Autodesk’s Fusion 360 with the purpose of providing a solid knowledge foundation for those diving into the world of computer-aided design (CAD) and computer-aided manufacturing (CAM). Fusion 360 is an all-encompassing tool that combines 3D design, simulation, and manufacturing functionalities, making it an ideal choice for those looking to acquaint themselves with cutting-edge engineering technology. Plus, it’s one of our favorites.
This guide is aimed at beginners in the fields of engineering and manufacturing, as well as students and enthusiasts seeking to learn the basics of Fusion 360. We believe this guide will be particularly valuable for those looking to acquire practical skills in digital design and manufacturing, as Fusion 360 offers an intuitive interface and powerful tools that streamline the learning process.
Throughout this guide, we’ll explore, in a hands-on manner, how to use Fusion 360 from preparing CNC files to generating G-code for manufacturing on numerical control machines. We’ll learn to navigate the user interface, import and edit geometry, apply constraints and dimensions, and generate toolpaths for CNC machining.
Without further ado, let’s dive into the guide!
1.1. What is Fusion 360?
Fusion 360 is a comprehensive 3D design and manufacturing software developed by Autodesk. It combines modeling, simulation, and machining capabilities into a single platform, making it an ideal tool for product development and prototyping.
Whether you’re a mechanical engineer, industrial designer, or hobbyist, Fusion 360 can help you bring your ideas to life.
1.2. User Interface
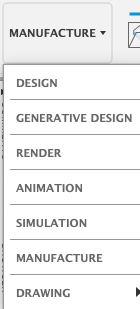
The Fusion 360 user interface is designed for efficiency and ease of use. It consists of a 3D workspace, a project browser, and a versatile toolbar.
The toolbar provides quick access to essential functions like sketching, modeling, and simulation. You can customize it to streamline your workflow.
3D Modeling
2.1. Importing an Existing Model
You can start your projects by importing existing 3D models in various file formats, such as F3D, STL or STEP. This allows you to build upon existing designs and save time.
2.2. Modifying the Model
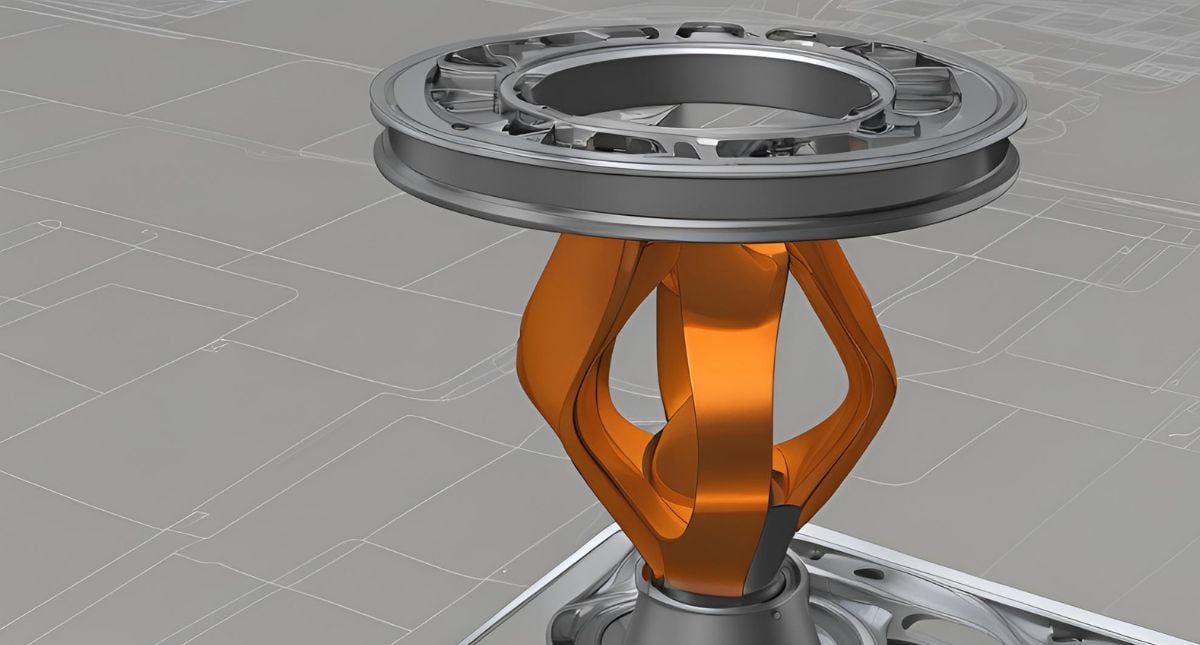
Fusion 360 offers a wide range of powerful modeling tools. You can extrude, revolve, loft, and fillet to create and modify 3D geometry with precision.
Machining Strategies
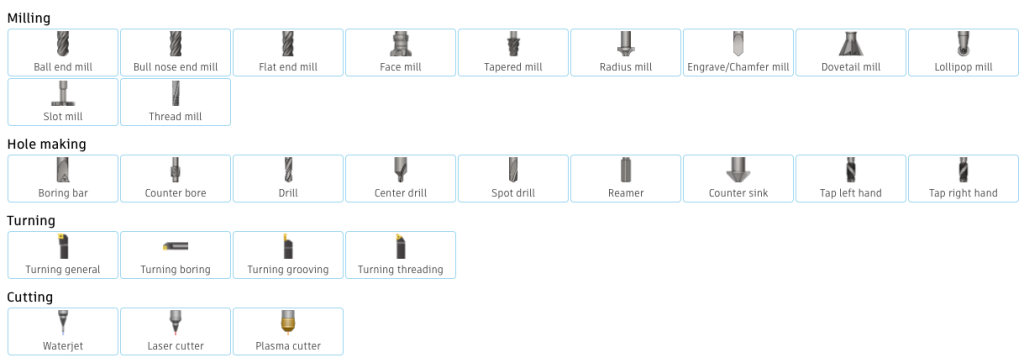
3.1. Creating Tools
Before you can machine a part, you need to define the cutting tools. Fusion 360 allows you to create and customize tool libraries with various tool types and parameters.
3.2. Generating Toolpaths
Using Fusion 360’s CAM (Computer-Aided Manufacturing) capabilities, you can create toolpaths for operations like 2D milling, 3D milling, drilling, and turning.
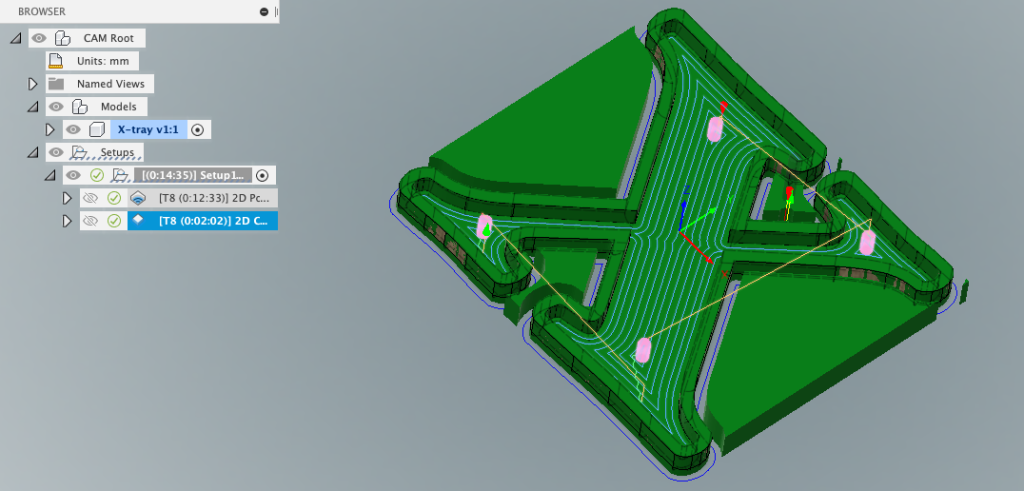
3.3. Machining Simulation
Before sending your design to the CNC machine, use Fusion 360’s simulation features to visualize and verify toolpaths, detect collisions, and ensure a safe machining process.
Exporting GCode
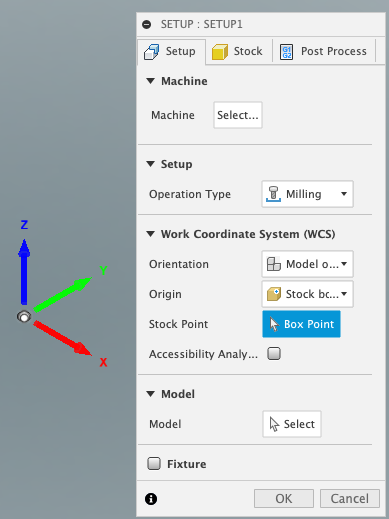
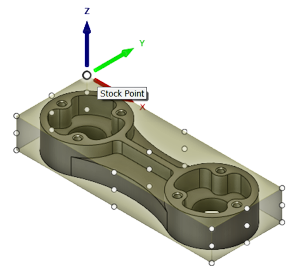
4.1. CNC Machine Setup
You will need to first specify the details of your CNC machine, it’s essential to establish the specifics of your CNC machine. This step is paramount, encompassing details such as its working envelope and origin point. Why is this crucial? Because an accurate setup lays the foundation for precise machining. So, take the time to ensure that your CNC machine’s parameters are correctly configured before delving further into the software.
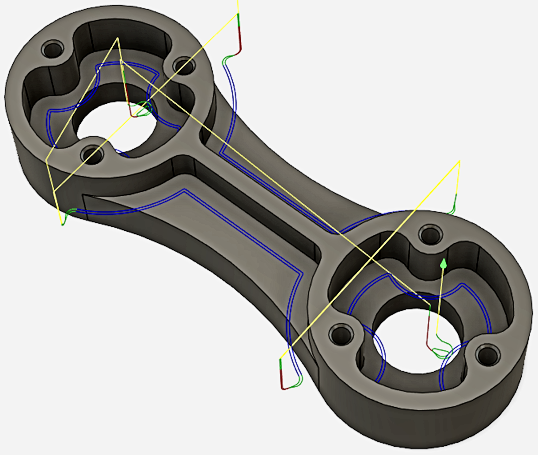
4.2. Tool paths Generation
Crafting toolpaths with Fusion 360 is a pivotal stage in bringing your design from the digital realm to reality. To commence this process, navigate to the CAM workspace within Fusion 360. Here, you’ll encounter a plethora of tools designed to streamline the generation of toolpaths. Begin by selecting the desired machining operation, whether it’s 2D, 3D, or multi-axis machining. Next, define the parameters of your operation, including tool selection, cutting parameters, and machining strategy. With Fusion 360’s intuitive interface, configuring these settings becomes a seamless endeavor, ensuring optimal results tailored to your specific project requirements.
Once your machining operation is defined, the next step is to generate the toolpath. Fusion 360 employs sophisticated algorithms to calculate the most efficient toolpath based on your input parameters. This includes considerations such as tool geometry, material properties, and machining constraints. As the toolpath is generated, you’ll have the opportunity to preview and simulate the machining process. This invaluable feature allows you to visualize the tool’s movement, anticipate potential issues, and refine your parameters as needed. By leveraging Fusion 360’s simulation capabilities, you can mitigate risks and optimize your toolpaths for superior performance and precision.
With the toolpath generated and optimized, it’s time to output the instructions for your CNC machine. Fusion 360 provides seamless integration with a wide range of CNC controllers, allowing you to export G-code directly from the software. Simply select the desired post processor, which converts the toolpath data into a format compatible with your CNC machine. Once exported, transfer the G-code file to your CNC controller and initiate the machining process. By following these steps within Fusion 360, you can efficiently generate toolpaths that translate your digital designs into tangible objects with unparalleled accuracy and efficiency.
4.3. GCode Generation
Once your toolpaths are ready, use Fusion 360 to generate GCode, which is the machine-readable code that instructs the CNC machine on how to perform the machining operations.
Conclusion
Thank you for your attention throughout this guide. From AgileMaking, we sincerely hope that this concise overview has been instrumental in clarifying the sequence for the proper use of Fusion 360 when transitioning from model creation to G-code generation.
By following the steps outlined here, you can navigate Fusion 360 with confidence, efficiently generating toolpaths and seamlessly translating your digital designs into reality.
Remember, should you require further assistance or have any questions, our team at AgileMaking is here to support you every step of the way. Your success is our priority, and we look forward to assisting you on your Fusion 360 journey.
Is your CNC business still running on “duct-tape systems”? Learn how to spot the hidden inefficiencies slowing down your shop, reduce daily friction, and build a stronger operational foundation for...
Recently, we conducted a bold experiment: we shared an AI-generated CNC design on Reddit to see how the community would react. 🧪 Our post, titled "Do you think something like this...
Are you a CNC enthusiast eager to take your projects to the next level? DXF files for CNC plasma are particularly useful for achieving precise and efficient cutting results. Whether...
From Agilemaking — get your FREE FLOWER TRAY FILE
designed for wood CNC routers.
STL + DXF + F3D included.
Enter your email and the file lands in your inbox instantly.
×
Almost there.
Where should we send your free Flower Tray file?
×
Thank You!
Press HERE TO DOWNLOAD
and your files will be available immediately.
If the download does not start automatically,
please contact us at [email protected].
Your Flower Tray file is on its way.
While you wait, browse our full collection of CNC projects.
This site uses cookies to improve your user experience. By continuing to browse, you accept the use of cookies.
Privacy Policy