Introduction
If the thought of making an assembly in Fusion 360 gives you a headache, you’re not alone. Creating assemblies can feel like trying to build a ship in a bottle—precision and patience required. 😩
But fear not! We’re breaking down the process to make it easy and frustration-free. Whether you’re designing a CNC router or a simple mechanical part, mastering assemblies in Fusion 360 will make your life a lot easier.
💡 What’s an Assembly in Fusion 360?
In Fusion 360, an assembly is a collection of parts or components that are positioned relative to one another. The idea is to bring multiple components together to create a fully functioning system.
Why Bother with Assemblies?
- Efficient Organization: Keep related parts together.
- Movement and Interaction: Simulate how parts move and fit together.
- Accurate Simulations: See how your design will perform in the real world.
- CNC Readiness: Ensure that your parts are aligned and compatible before cutting.
📝 Essential Tips Before You Start
- Organize Your Components: Make sure your parts are clearly named and structured.
- Use Joints Strategically: Don’t go overboard with constraints. Use only what you need.
- Save Frequently: Fusion 360 loves to crash at the worst possible moments.
🛠️ Step-by-Step Guide to Creating an Assembly
1. Create or Import Components
You’ll either create components from scratch or import existing models. Start by ensuring each part is a Component rather than just a Body. Components are essential for creating movable parts within your assembly.
2. Set Up Your Workspace
Use the Assemble tab to access tools like Joint, Rigid Group, and Motion Link. Make sure to activate the assembly environment to enable all relevant tools.
3. Assemble Components Using Joints
Joints are the backbone of any assembly. They define how components connect and move relative to each other.
- Rigid Joint: Fixes components in place.
- Revolute Joint: Allows rotation around a single axis.
- Slider Joint: Enables linear movement.
- Cylindrical Joint: Combines rotation and sliding.
4. Apply Motion Constraints
Limit movement to specific degrees of freedom using Motion Limits. This ensures that parts don’t collide or move out of place.
5. Run Simulations
Test your assembly by moving joints and simulating real-world interactions. This step helps identify any design flaws before production.
🧠 Troubleshooting Common Issues
Problem: Components Don’t Move as Expected
- Solution: Check joint settings and constraints. Sometimes a rigid joint might be blocking intended movement.
Problem: Parts Are Misaligned
- Solution: Use the Align tool to adjust parts to their correct positions.
Problem: Simulation Fails
- Solution: Check if any components are accidentally grounded. Grounded components can’t move, causing the simulation to fail.
🚀 Real-Life Example: Assembling a CNC Router
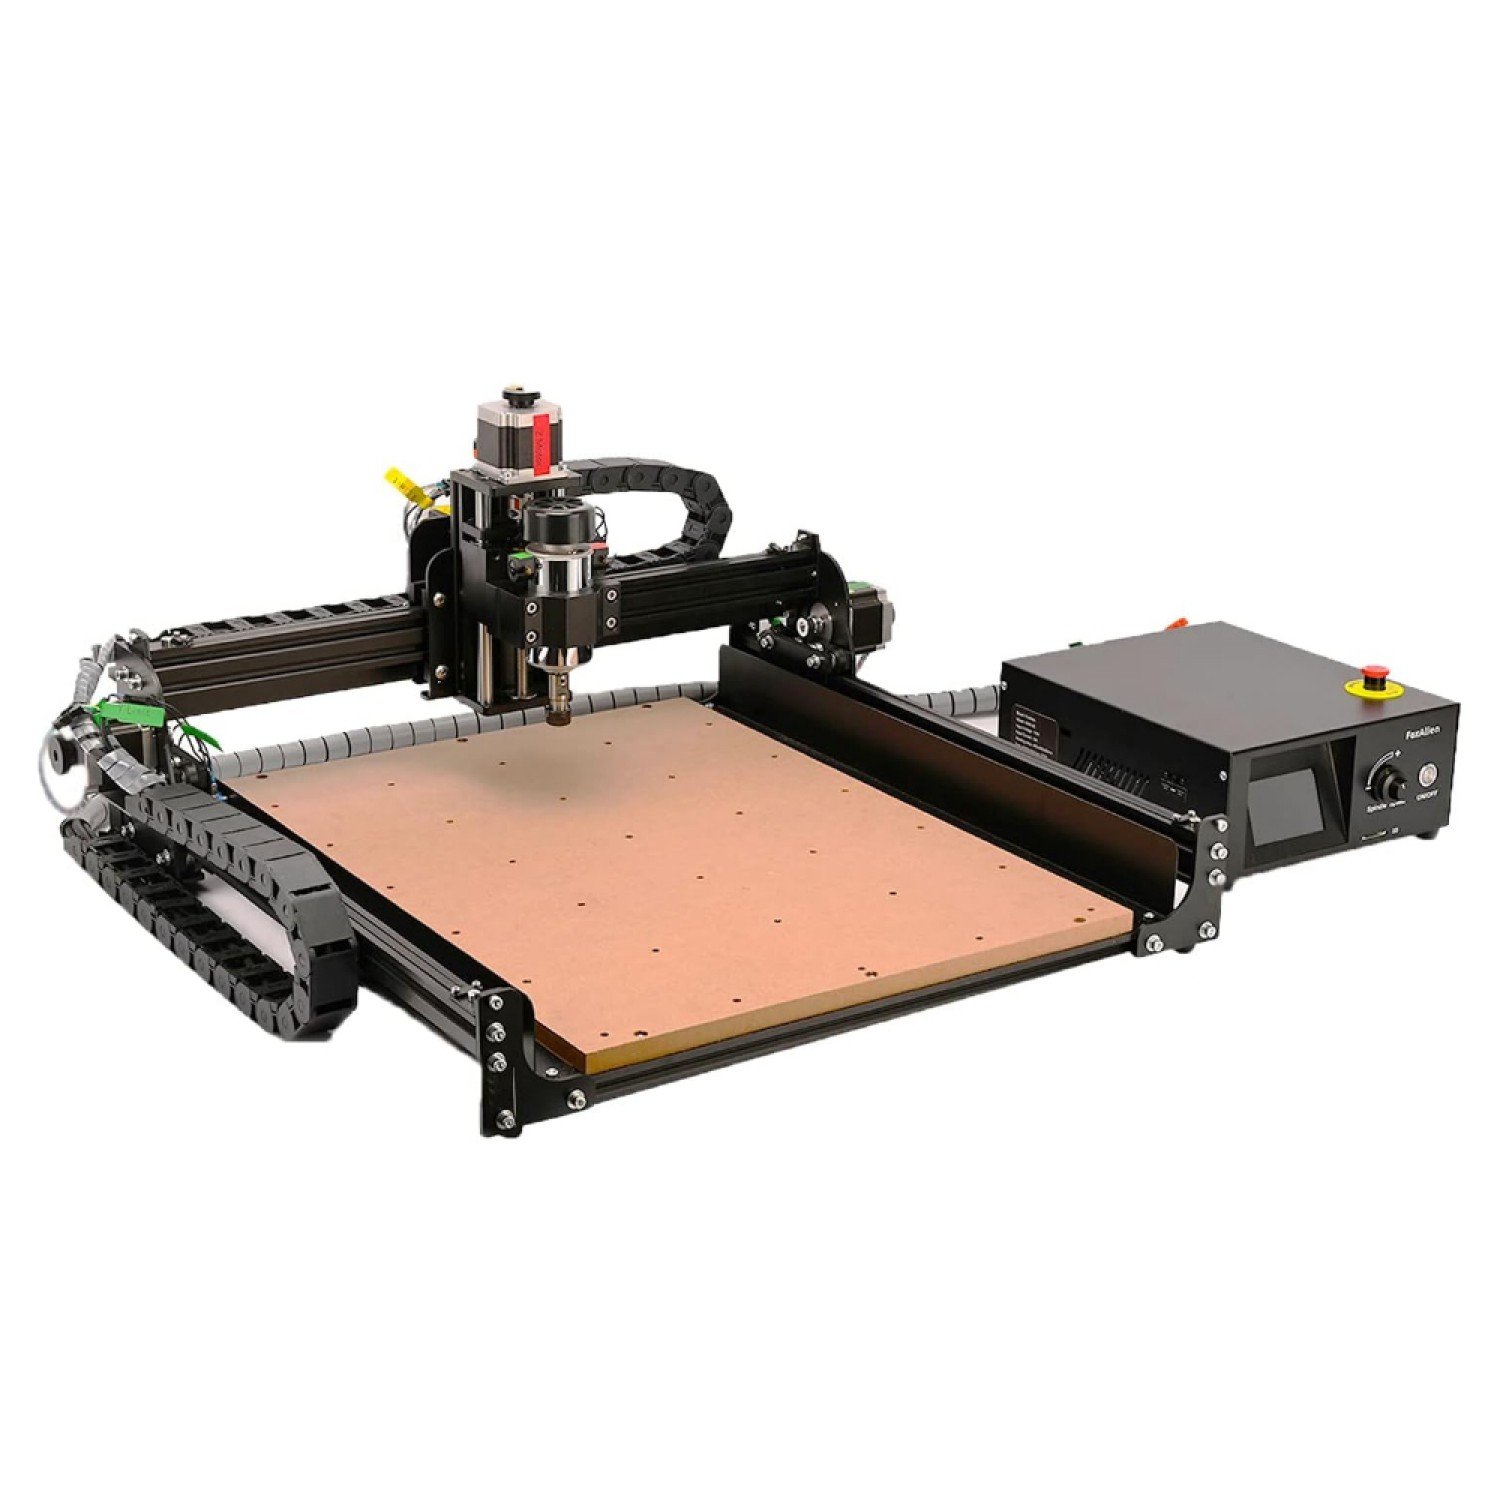
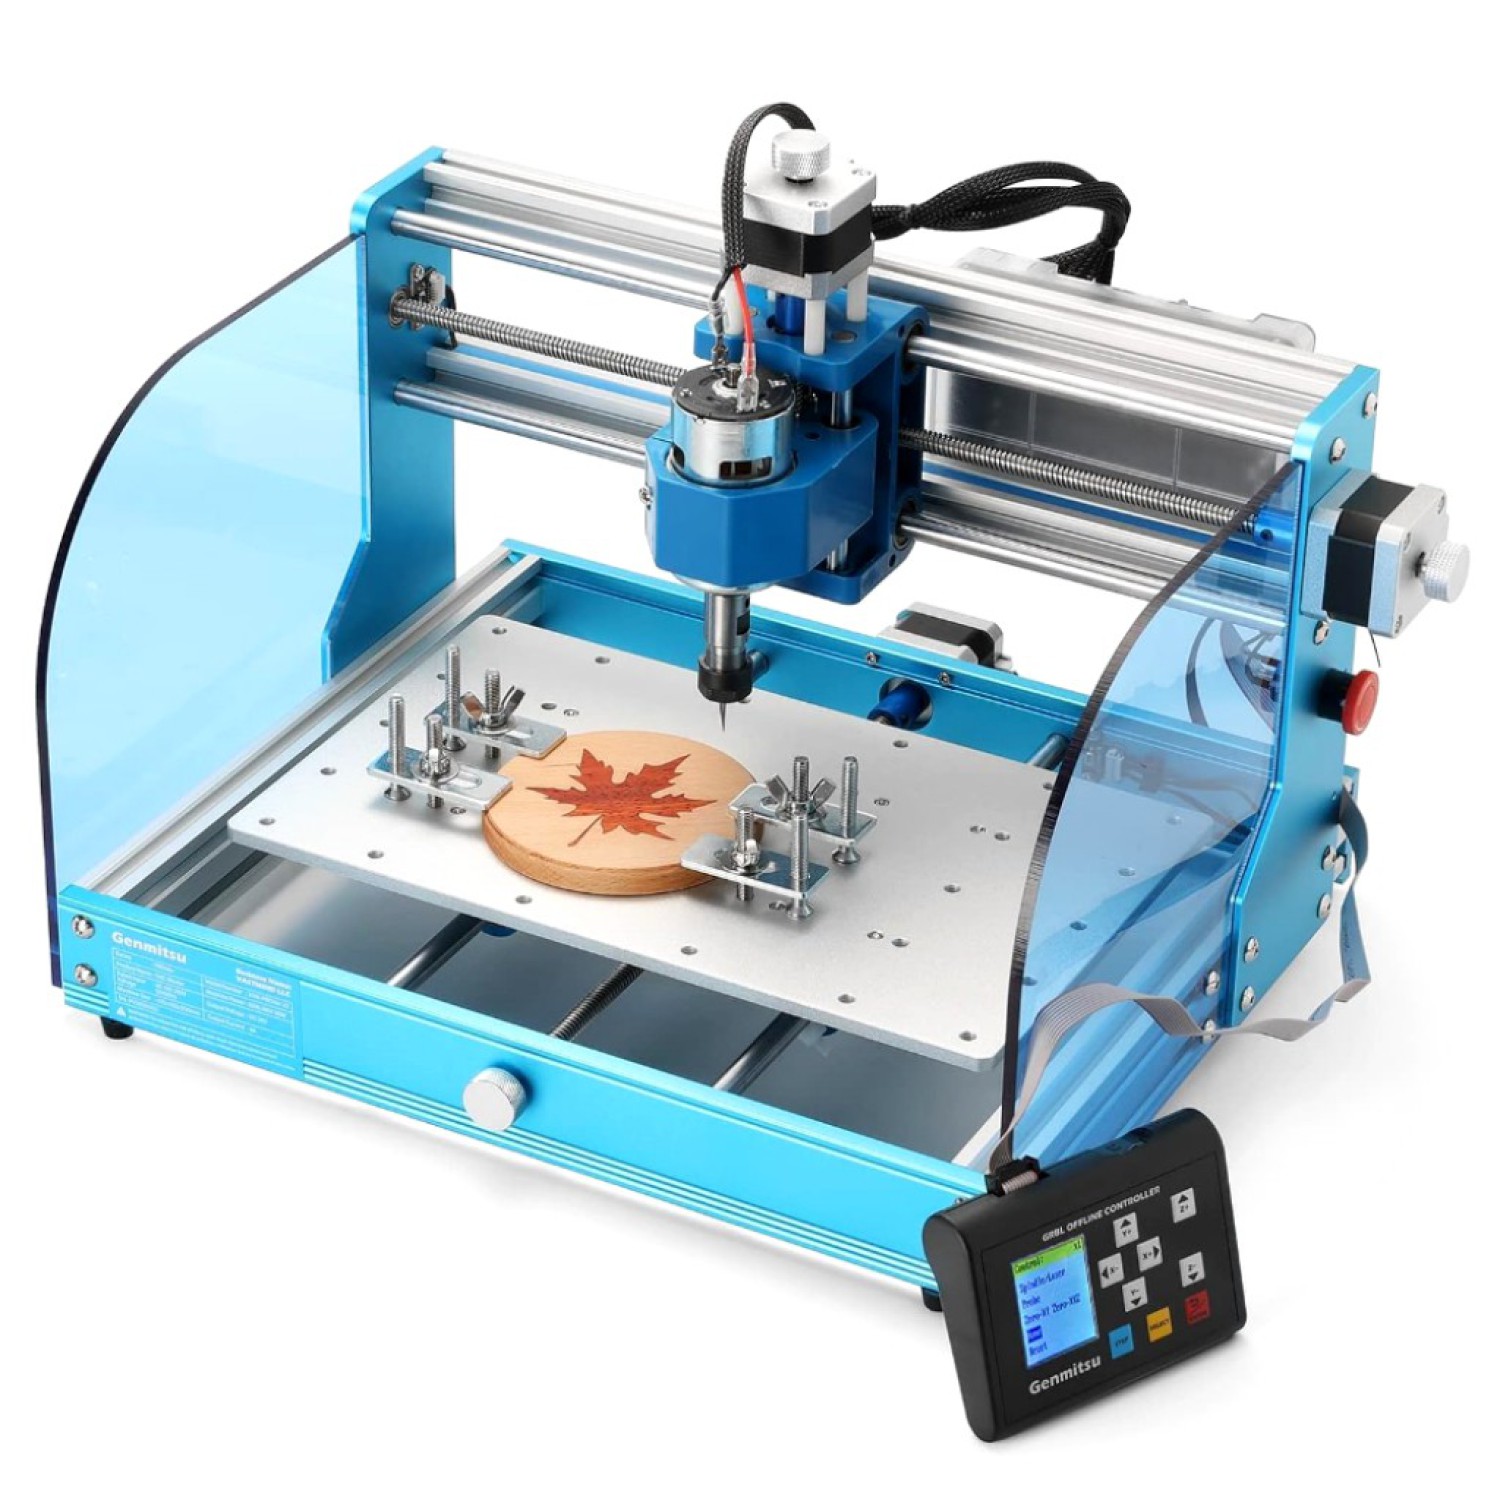
Imagine you’re designing a CNC router with multiple moving parts like the gantry, spindle, and tool holder. Creating an assembly ensures that each part moves correctly during the cutting process.
Steps:
- Create Components: Frame, Gantry, Spindle, Tool Holder.
- Apply Joints: Use Rigid Joints for the frame and Slider Joints for the gantry.
- Simulate Motion: Move the gantry along the X and Y axes to ensure smooth operation.
- Export: Once satisfied, export the entire assembly as a single file.
✅ Get professional help at Agilemaking
💡 Pro Tips for Assembly Efficiency
- Layer Your Assembly: Break down complex assemblies into smaller sub-assemblies.
- Use Reference Geometry: Use planes and axes to keep everything aligned.
- Name Your Components Clearly: Avoid confusion when dealing with large assemblies.
💬 Conclusion
Creating assemblies in Fusion 360 doesn’t have to be a nightmare. With the right approach, you can build complex projects efficiently and accurately.🔥